After looking at the Black Hog B-Explorer item...and my wife catching me doing so, I was told to find a less expensive way to add on additional controls.
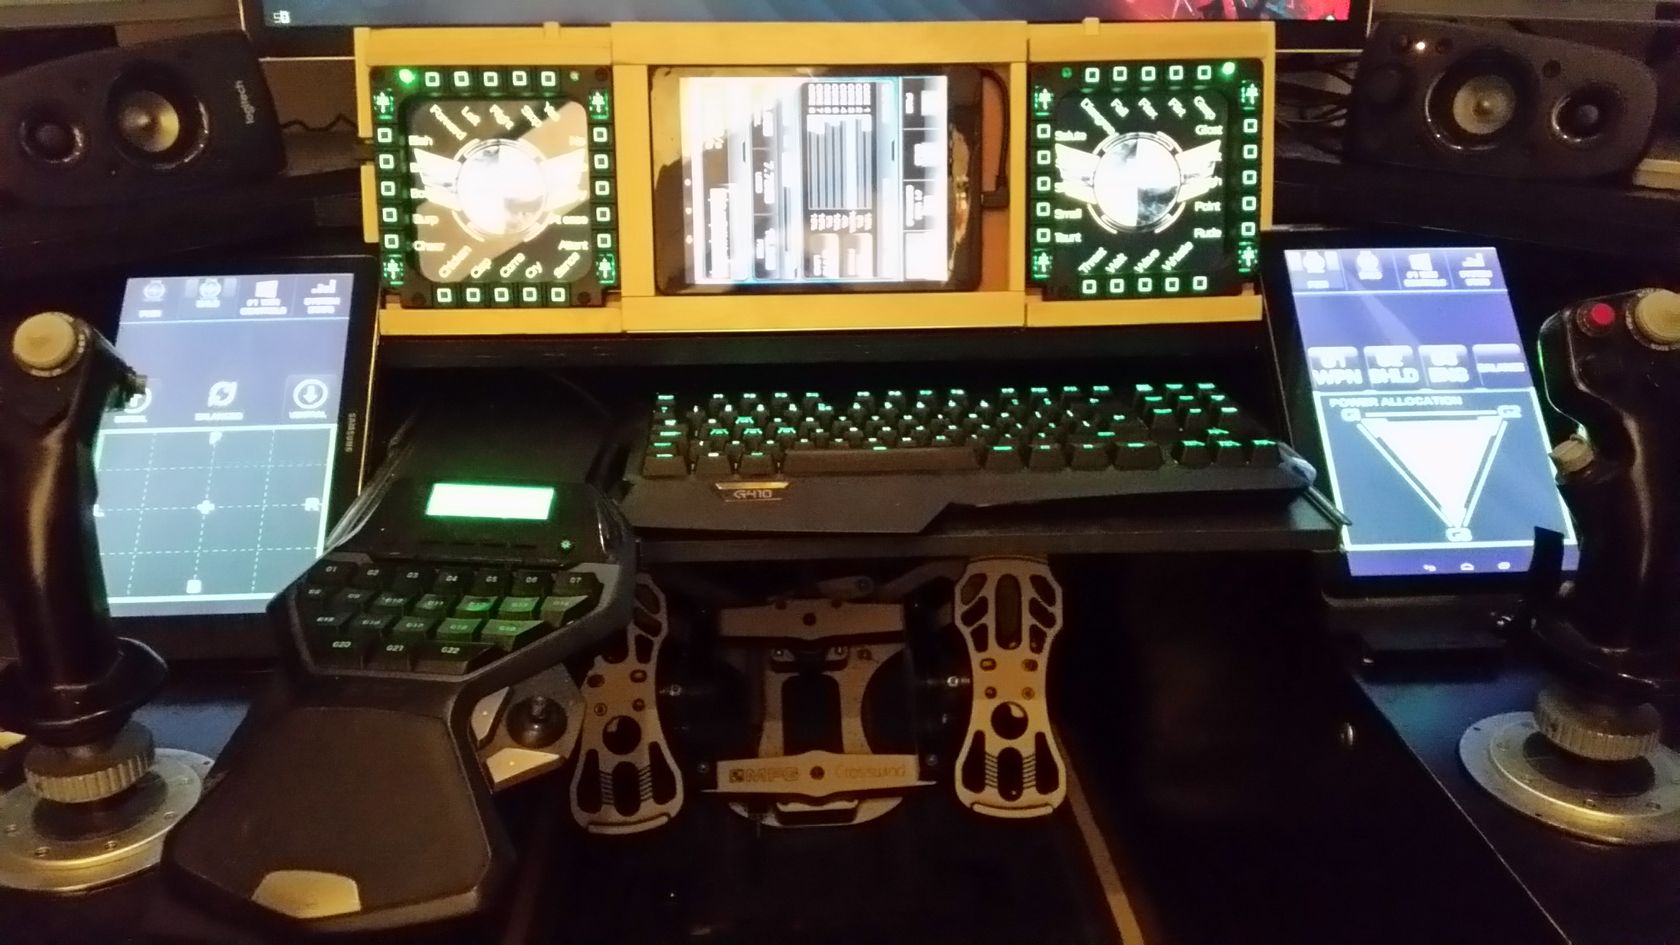
After looking, and since I already use the Warthog HOTAS system, I decided to add on the Cougar controllers. These come in a 2 pack, with each one with 20 one press buttons and 4 rocker buttons for a total of 40 buttons and 8 rocker buttons.
After looking at the space on my desk, I then decided that I needed to mount these somehow. I could have mounted them to my monitor stand, but I decided I was going to make a Control board for my HOTAS System.
I am still in the process of building it, but here are some of the in progress photos.
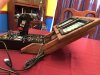
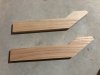
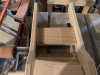
The first is the the base-plate I made for the throttle. The extended sides are where the risers for the control board will attach. It's made of 1/4 inch plywood with maple veneer.
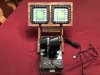
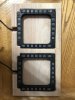
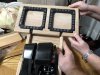
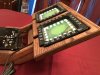
The next is the roughed out control board, then with the Cougars test fit. This and the risers will be made out of red oak. This was done using a router. I should have done this slightly differently, and use a dovetail bit for the exit for the USB cords. I used a 1/4 inch round-over bit to smooth the edges a bit.
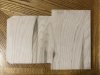
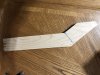
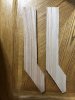
Finally, I have a mockup/pattern for the riser. I've made this one out of some cheap pine I had lying around after making birdhouse kits for my nephews. I need to make sure the angles are small enough so the system does not obstruct by monitors, but large enough to keep the buttons close to my hand for use.. Once I am satisfied with the angle, I will trace the pattern on the oak plank I have and cut them out. I will use the same 1/4 round over bit to smooth the edges. I will also add in a small brace to help keep things square between the two risers.
After all that's one, i will assemble using wood glue and screws, then finish with a hand rubbed stain.
For those thinking of doing something similar and that this will be cheaper then the B-explorer...it won't be, but it will have more controls for you. This is especially true if you don't have any woodworking tools. I am unfortunate enough to have inherited most of my dad's tools after he passed, including a shopsmith, and I already had the router, bits, and chisels.
If you want to make yours out of oak, you will need power tools. If you want to use hand tools, get pine or another softer wood. Better yet, make a plywood back and use 1x1 or 1/2x1/2 inch trim to frame out your control board.
I will add additional photos as I move forward in the build
After looking, and since I already use the Warthog HOTAS system, I decided to add on the Cougar controllers. These come in a 2 pack, with each one with 20 one press buttons and 4 rocker buttons for a total of 40 buttons and 8 rocker buttons.
After looking at the space on my desk, I then decided that I needed to mount these somehow. I could have mounted them to my monitor stand, but I decided I was going to make a Control board for my HOTAS System.
I am still in the process of building it, but here are some of the in progress photos.
The first is the the base-plate I made for the throttle. The extended sides are where the risers for the control board will attach. It's made of 1/4 inch plywood with maple veneer.
The next is the roughed out control board, then with the Cougars test fit. This and the risers will be made out of red oak. This was done using a router. I should have done this slightly differently, and use a dovetail bit for the exit for the USB cords. I used a 1/4 inch round-over bit to smooth the edges a bit.
Finally, I have a mockup/pattern for the riser. I've made this one out of some cheap pine I had lying around after making birdhouse kits for my nephews. I need to make sure the angles are small enough so the system does not obstruct by monitors, but large enough to keep the buttons close to my hand for use.. Once I am satisfied with the angle, I will trace the pattern on the oak plank I have and cut them out. I will use the same 1/4 round over bit to smooth the edges. I will also add in a small brace to help keep things square between the two risers.
After all that's one, i will assemble using wood glue and screws, then finish with a hand rubbed stain.
For those thinking of doing something similar and that this will be cheaper then the B-explorer...it won't be, but it will have more controls for you. This is especially true if you don't have any woodworking tools. I am unfortunate enough to have inherited most of my dad's tools after he passed, including a shopsmith, and I already had the router, bits, and chisels.
If you want to make yours out of oak, you will need power tools. If you want to use hand tools, get pine or another softer wood. Better yet, make a plywood back and use 1x1 or 1/2x1/2 inch trim to frame out your control board.
I will add additional photos as I move forward in the build
Attachments
-
 3.7 MB Views: 76
 -
 2 MB Views: 77
 -
 1.8 MB Views: 86
 -
 2 MB Views: 73
 -
 2.1 MB Views: 69
 -
 3.5 MB Views: 73
 -
 3.4 MB Views: 72
 -
 1.6 MB Views: 85
 -
 3.9 MB Views: 79
 -
 3.7 MB Views: 78

 I cant wait to see the finished control board.