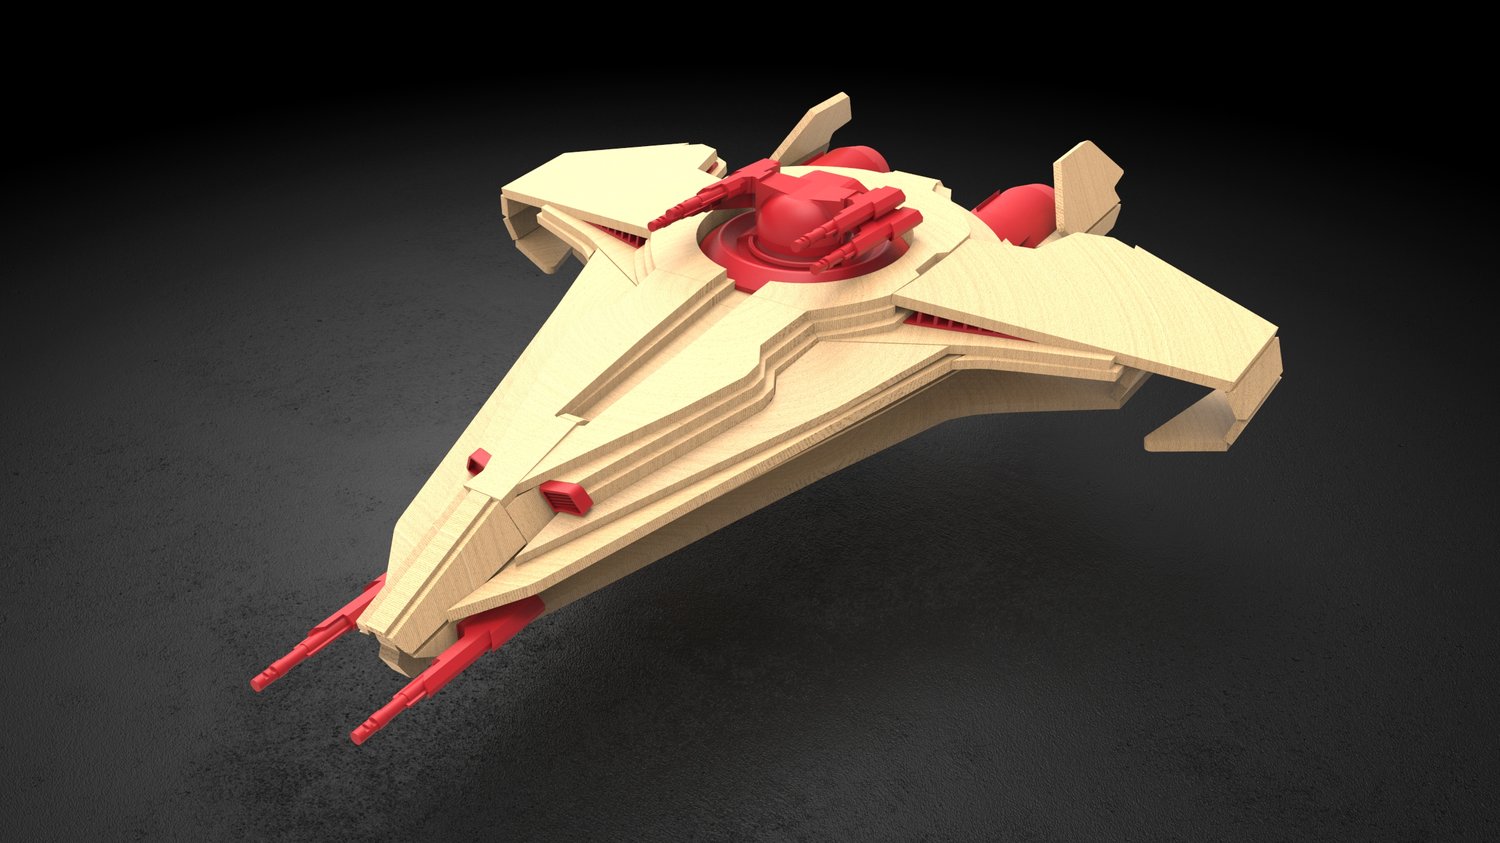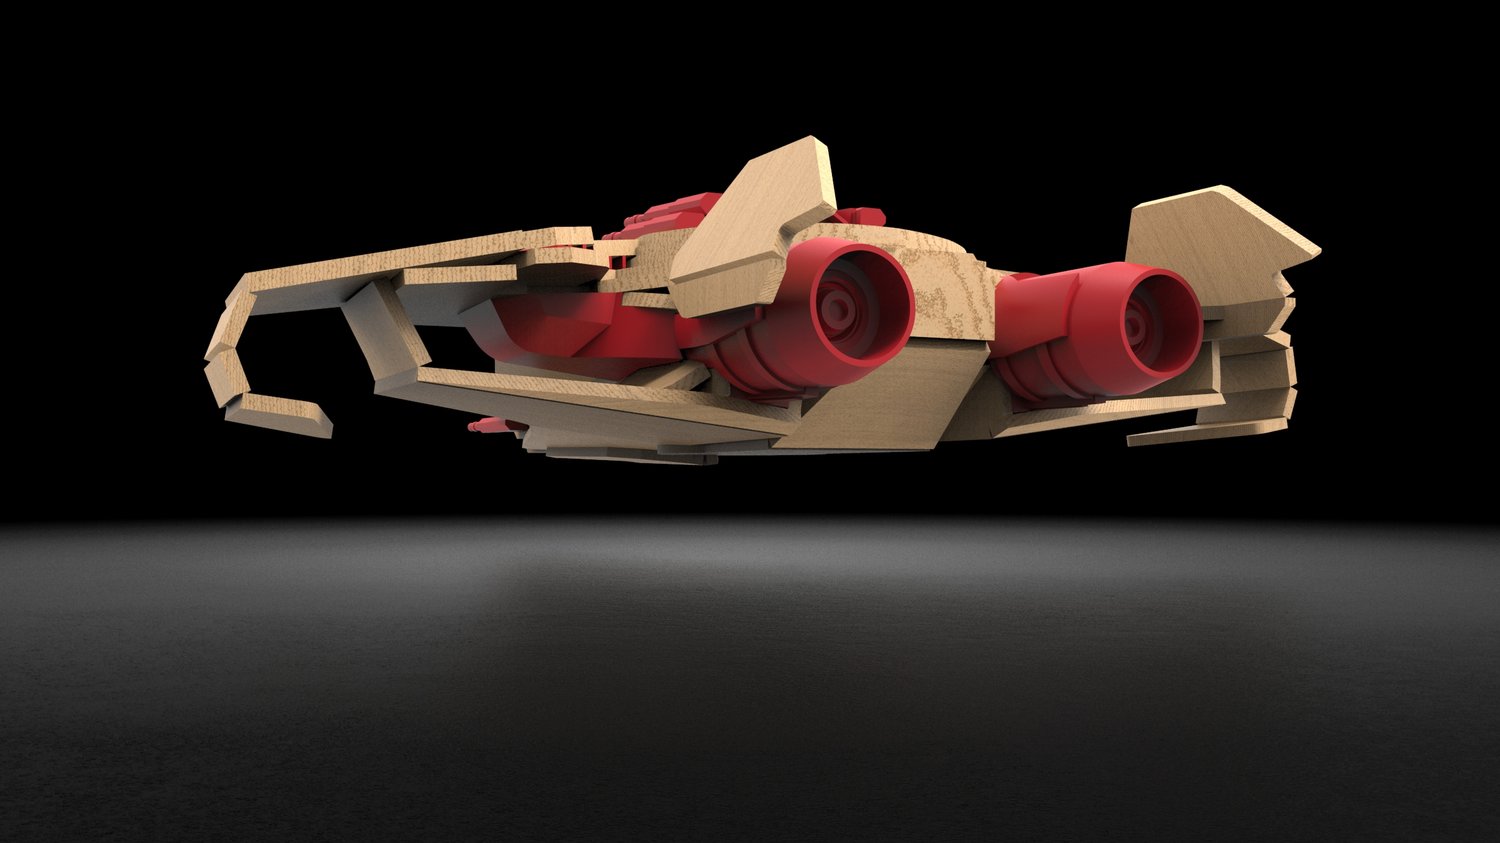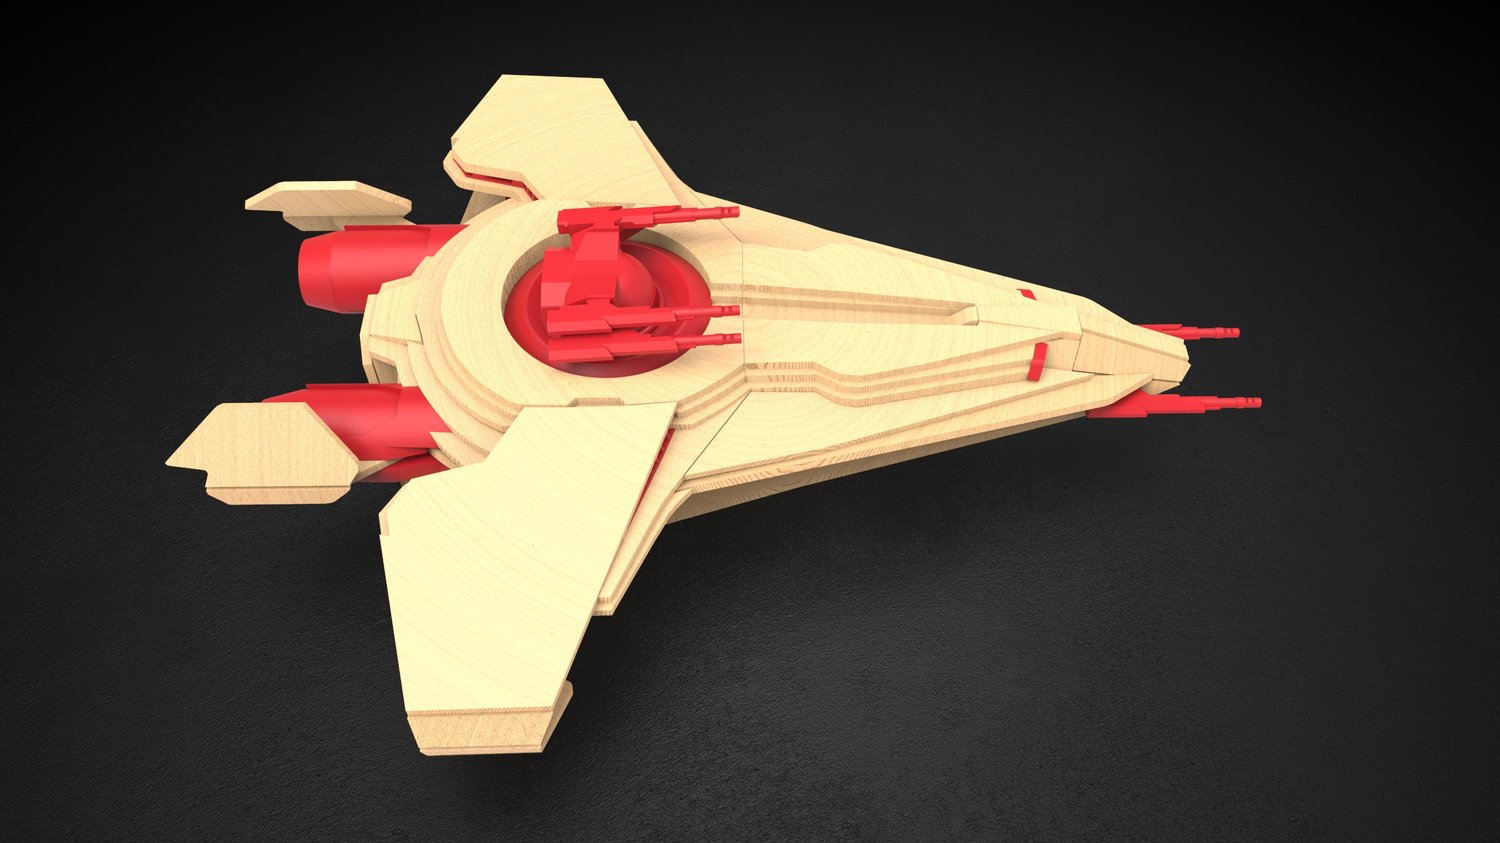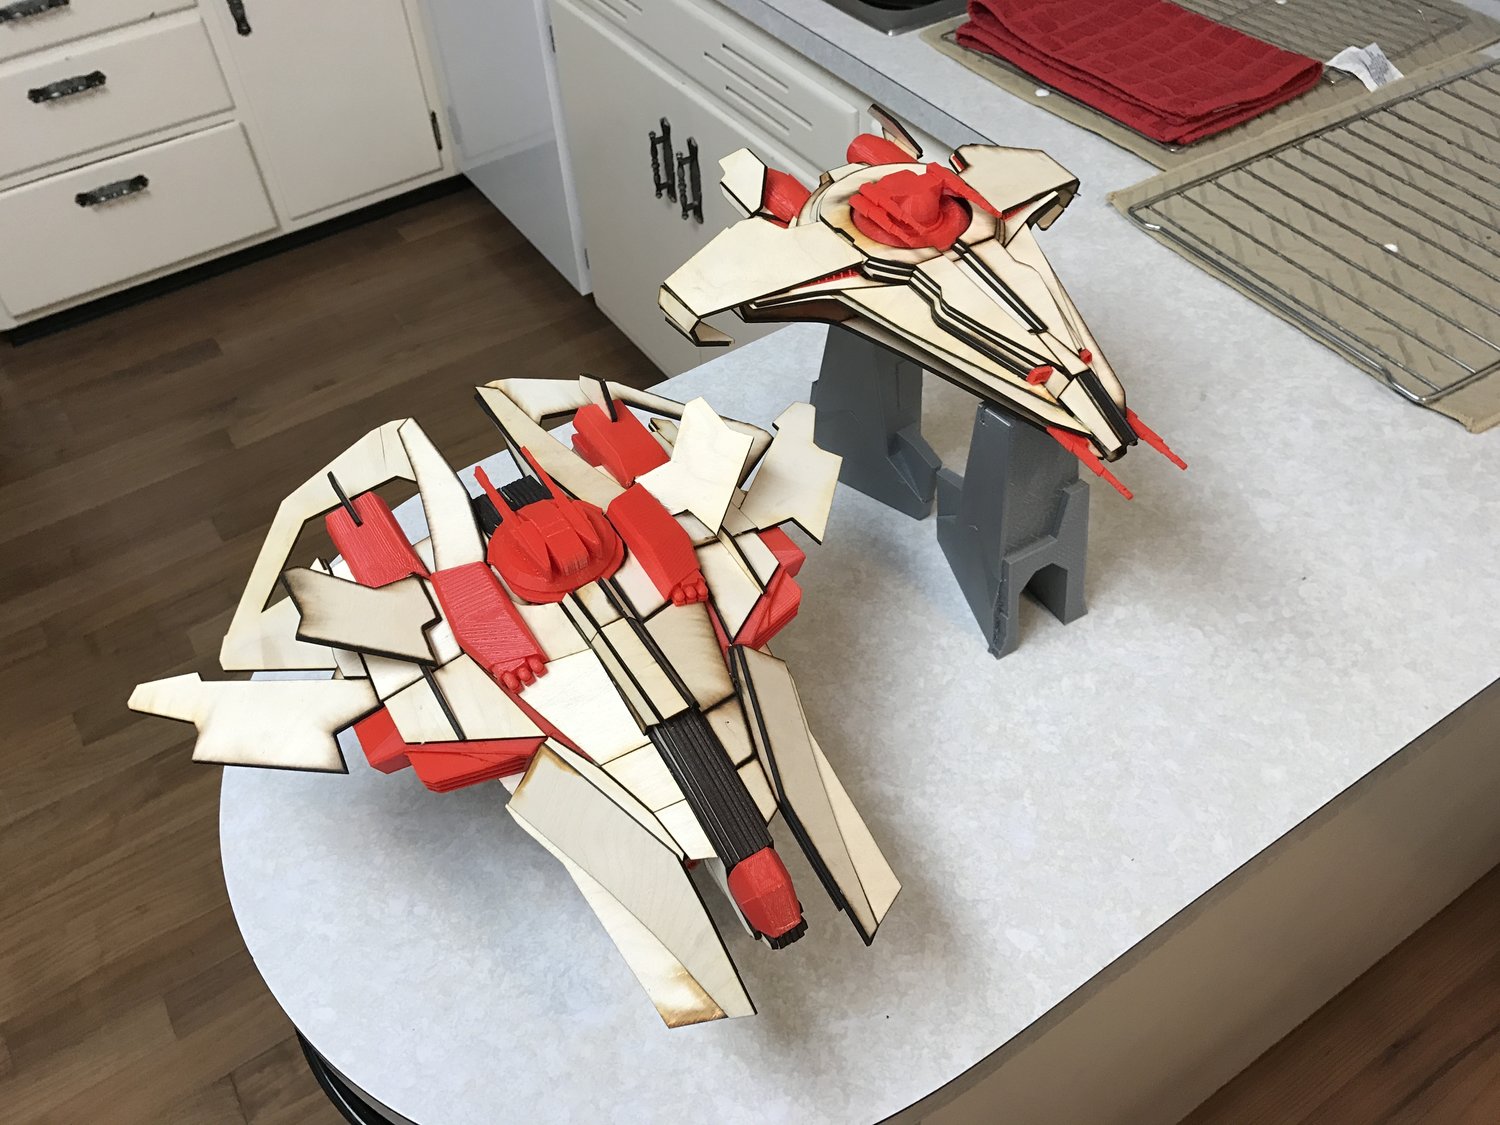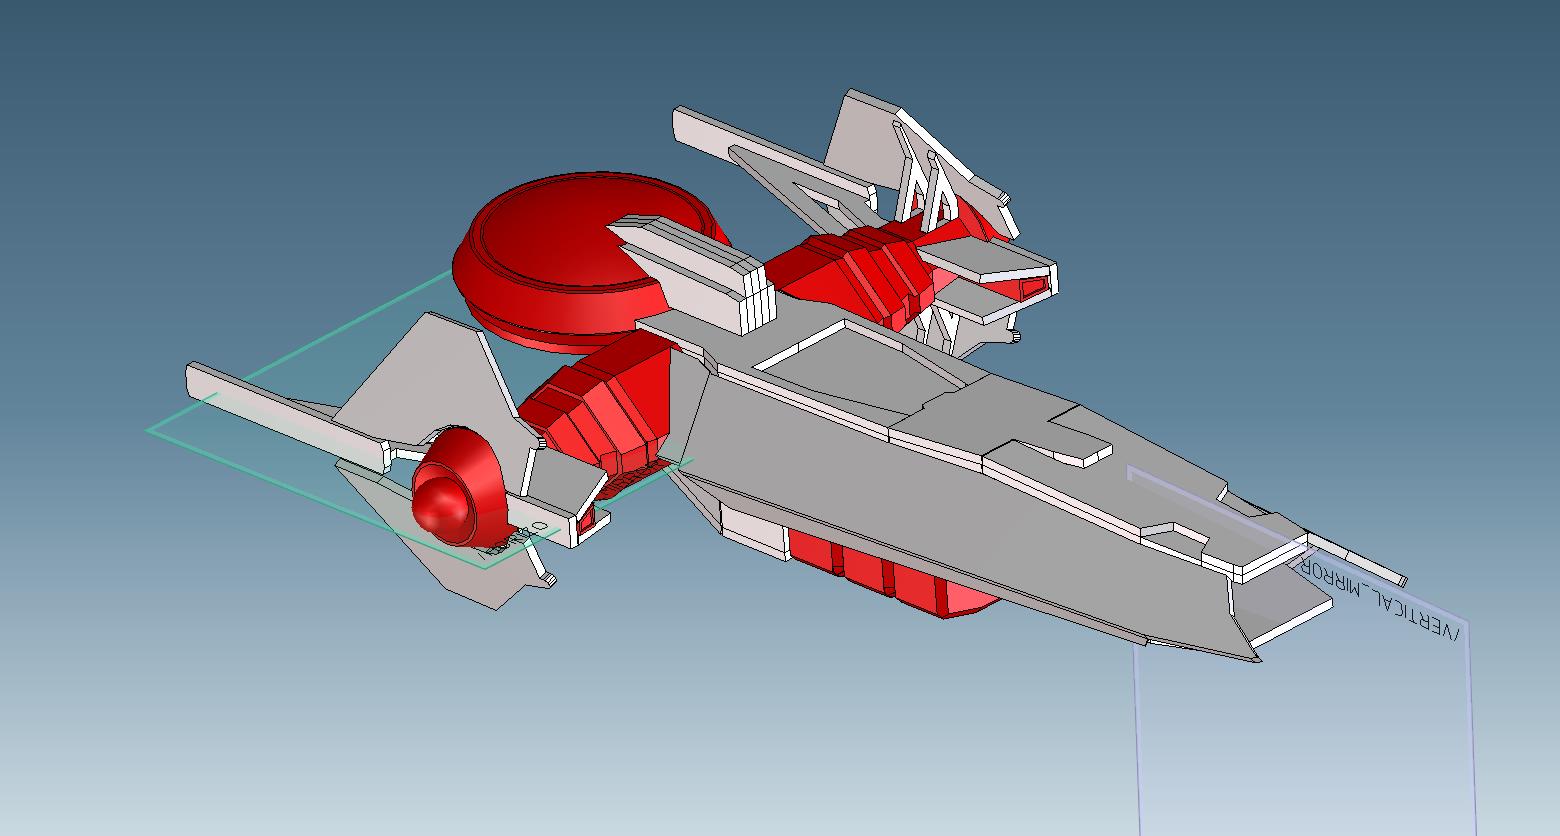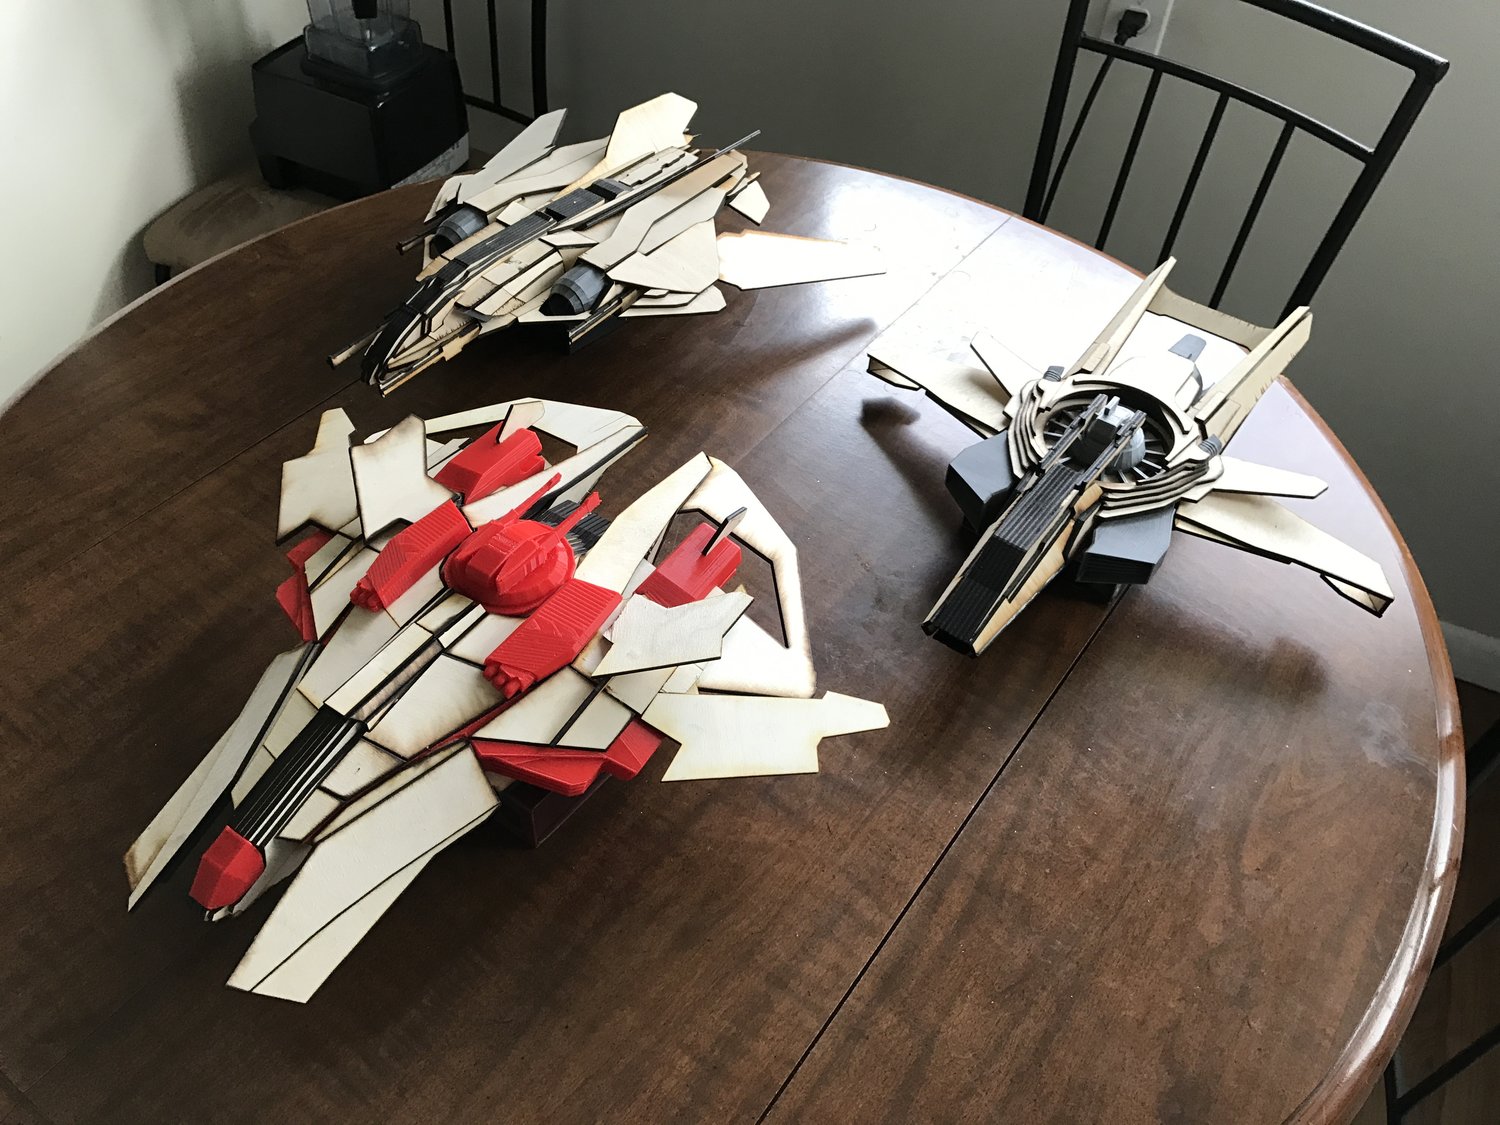
As some of you know I build laser cut ship models. I've been on a kick for the last 6 months building SC ship models as part of some illogical use of my free time. So far I've made 12 unique ships to date.
Normally I'm not one to make forum posts. Too much stuff gets started and never finished... so I prefer to make a post when I'm done. This time I figured I'd spice things up and take a chance at posting as I go.
So without further ado, here we go!

The target of the next ~20-40 hours of my life is the RSI Polaris! This ship will be a bit special since I own Hull #444 from the War Bond Sale (I may end up engraving that number into it somewhere).

Let's get some clerical stuff outta the way. Most of the models I use are from the Holoviewer on the RSI website. They usually have all the bits attached and are light enough to not require major rework for my CAD software. Speaking of CAD software, for this ship we will be using PTC Creo Elements Direct V19. I bounce back and forth between it and Solidworks since together they cover both explicit and parametric modelling. Holoviewer model once downloaded hits Meshlab for a polygon reduction and then FreeCAD for conversion to a STEP file.

Now obviously I'm not going to build this ship 1 to 1. Most of my previous ships have been 1/64th scale or 20m in-game = 12 in. real life. At that scale, the Polaris (155m) would be somewhere around 7.5 ft long. Not exactly feasible in my small house. After some number crunching I settled on a scale of 1/254 or roughly 150m in-game = 24 in. real life. At 2 ft long, this will be much more manageable... and give me head room to eventually make a same scale Idris :D

When starting a model, I usually spend around an hour playing cleanup and looking the model over. Cleanup boils down to removing impossibly small geometry. Good examples of this are explosed cables and fuel lines on small ships, to small turrets on large ships. My models are not meant to be super high fidelity as it is very easy to get into a rut of adding too much detail (my Sabre model was a good example of this).

Looking over the model is very important. My models are made from 1/8" thick laser cut sheets. The conversion requires a bit of thinking and planning. You need to first understand the design of a ship before you can essentially rebuild it out of something else. How does stuff mount? Do panels overlap? Thrusters and engines? Any weapons?

Ultimate you need to consider the major components and how you wish to build them. For this build we will be using 3 items; 1/8" thick sheets, 3D printed items and lumber. Obviously the sheets are what a large portion of the model consists of. You can build it stacked or you can build it in a box to create 3D shapes in various ways. When the detail is important but too fine for laser cut sheets, I move over to 3D printing. This is often thrusters, cockpits, etc. Finally we have lumber. On some of the larger models, lumber is a way to take up large volumes of space in a cheap and strong manner. Plus it adds heft which feels good when handling.
I'm not saying the exact 1/8" thick sheets I will be using because I might have some new material coming for this build. In the past I have used 1/8" thick Birch plywood.

For the Polaris you will see the following; a lumber backbone and various 3D printed pieces. For the 3D printed parts we will be making the following; cockpit, torpedo tubes, engine cores, pre-engine fin/covers, and potentially the rear engine support piece.

To begin this journey, tonight's very short work session laid out the backbone of the ship. Fitting just within the hull I've laid out a 2x4 and a 2x2 together. They allow ample space for panel support structures but manage to soak up a considerable amount of space.

And that's pretty much it for this evening. Next update should be the creation of the cockpit 3D printed piece as well as the start to paneling the ship and eventually the 3D printed torpedo tubes.
I probably won't proofread these posts :D

